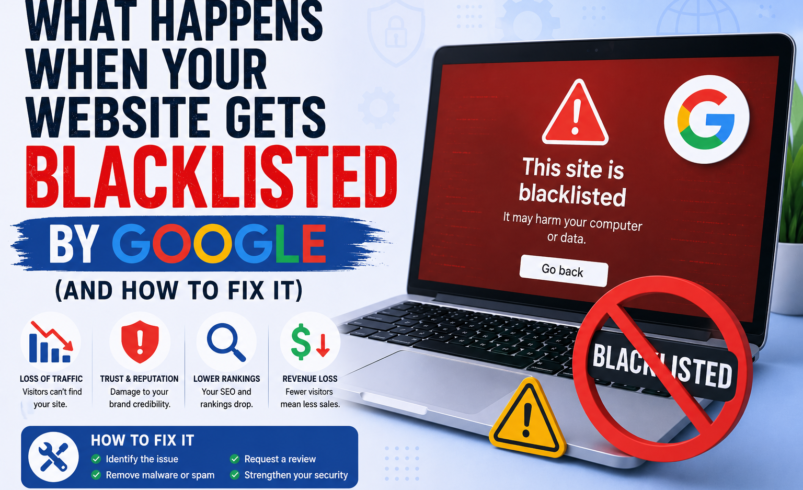
Imagine waking up one morning, opening your laptop, and discovering that your website — the one you’ve spent months or years building — is showing a bright red warning screen in Google Chrome. Visitors see the words: ‘This site may harm your computer.’ Your rankings have vanished. Your traffic has dropped to near zero overnight.
This is the reality of being blacklisted by Google. It happens to thousands of website owners every week — and most of them had no idea it was coming.
In this post, we’ll explain exactly what a Google blacklist is, why it happens, what the consequences are, and most importantly — how to get your website removed from the blacklist as quickly as possible.
What Is a Google Blacklist?
Google’s Safe Browsing program constantly crawls the web looking for websites that contain malware, phishing pages, or deceptive content. When it detects something dangerous, it adds that domain to its blacklist — a database of unsafe sites shared across Google Chrome, Firefox, Safari, and other browsers.
Once you’re on that list, visitors to your site will see a full-screen warning page before they can access your content. Most people won’t click through. And Google Search will add a warning label to your listing, tanking your click-through rate.
Why Does Google Blacklist Websites?
Sites get blacklisted for several reasons:
- Malware infection — hackers inject malicious code that downloads viruses onto visitors’ computers
- Phishing pages — fake login forms designed to steal usernames, passwords, or credit card numbers
- SEO spam — thousands of hidden spam pages inserted into your site by hackers
- Drive-by downloads — scripts that automatically download harmful software without user interaction
- Deceptive content — pages that mislead users into taking harmful actions
In most cases, the site owner is completely unaware any of this is happening. Hackers are skilled at hiding their tracks from administrators while targeting visitors.
The Real Consequences of Being Blacklisted
A Google blacklist isn’t just a minor inconvenience — it can be devastating for a business:
- 95%+ traffic drop: Most users will not click through a security warning.
- SEO rankings destroyed: Google demotes or completely removes blacklisted sites from search results.
- Brand reputation damaged: Customers who see the warning lose trust — possibly forever.
- Revenue loss: eCommerce sites can lose thousands of dollars per day during a blacklisting event.
- Email blacklisting: Your domain may also get flagged by email providers, breaking your email marketing.
How to Check If Your Website Is Blacklisted
You can check your site’s status using Google’s Safe Browsing Transparency Report:
Visit: https://transparencyreport.google.com/safe-browsing/search and enter your domain.
You should also check Google Search Console — if your site has been flagged, you’ll typically see a Security Issues report with details about what was found.
Additionally, your site may appear on other blacklists maintained by McAfee, Norton, Sucuri, and Spamhaus. It’s worth checking all of them.
Step-by-Step: How to Fix a Blacklisted Website
Step 1 — Don’t Panic, But Act Immediately
Every hour your site is blacklisted costs you traffic, revenue, and trust. Set everything else aside and focus on this.
Step 2 — Identify the Malware
Before you can fix anything, you need to know what’s infected and where. Run a thorough malware scan using a professional website security scanner. Look for:
- Modified core files
- Newly added PHP or JavaScript files you didn’t create
- Hidden iframes or external script injections
- Backdoor files (often disguised as legitimate system files)
Step 3 — Clean the Infection
Malware removal is not a job for beginners. A missed backdoor means you’ll be reinfected within days. Options include:
- Restore from a clean backup (only if it predates the infection)
- Manual removal by a security professional
- Using a professional malware removal service
🧹 Sucuri’s security team specializes in exactly this. Their malware removal service will clean your site, remove backdoors, and get you ready for Google’s review — with a guarantee. Available 24/7.
Step 4 — Harden Your Website Security
Once clean, make sure this doesn’t happen again. Change all passwords, update your CMS and plugins, remove unused software, and install a web application firewall (WAF) to block future attacks.
Step 5 — Request a Google Review
Once your site is clean, go to Google Search Console and submit a Review Request under Security Issues. Be specific about what you found and what you fixed. Google typically processes these requests within 1–3 days for straightforward cases.
Important: Only submit the review request AFTER the site is fully cleaned. Submitting too early will delay the process and potentially flag your site as a repeat offender.
How to Prevent Being Blacklisted in the Future
The best cure is prevention. Here’s what you should have in place:
- A web application firewall to block malicious traffic before it reaches your site
- Continuous malware monitoring with instant alerts
- Regular automated backups stored offsite
- Up-to-date CMS core, themes, and plugins
- Blacklist monitoring across major security databases
Sucuri covers all of the above in a single platform — real-time scanning, WAF protection, blacklist monitoring, and expert malware removal when you need it.
🔒 Don’t wait for Google to flag your site. Start monitoring with Sucuri today and know the moment something goes wrong — before your visitors do.
Being blacklisted by Google feels like a disaster — but with the right tools and quick action, most sites can fully recover. The key is speed, thoroughness, and making sure it never happens again.